Apple ID: Remove Connected Devices
![]() If you want to shut down your Apple ID (e.g. because you have created a new one), you should remember the devices that are connected with the related Apple ID. In this article we explain, how you can remove the devices that are connected with your Apple ID in two ways – on your iPhone and on your laptop.
If you want to shut down your Apple ID (e.g. because you have created a new one), you should remember the devices that are connected with the related Apple ID. In this article we explain, how you can remove the devices that are connected with your Apple ID in two ways – on your iPhone and on your laptop.
Apple ID: Remove connected devices
Below you find a short guide, how you can remove devices from your Apple ID account on your iPhone and on your computer.
1. Remove connected devices on iPhone
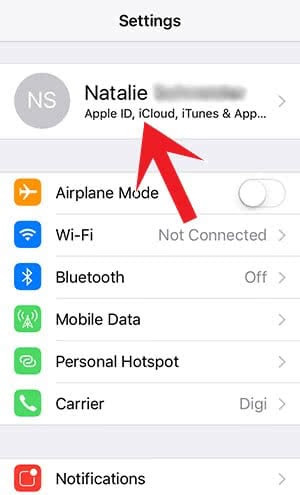
Settings > Apple IDOpen the Settings on your iPhone and go to Apple ID on top.
On this level, scroll down to the bottom until you see the devices that are connected with your Apple ID. Choose the device from this list, which you want to remove.
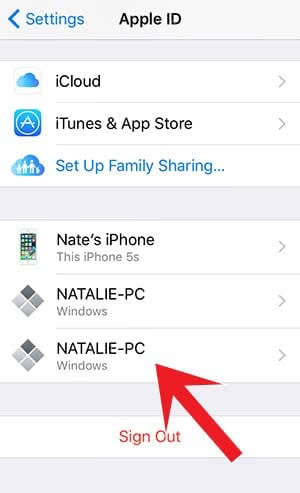
Now you are on the details view of this device. At the bottom, you will see Remove From Account. Click this option and confirm the choice by tapping Remove.
This way you can remove any device from your Apple ID account. You will not loose any data and the connection can be recovered by signing in again with your Apple ID on the particular device.
2. Remove connected devices on computer
If you don’t have your iPhone available, you can also take the steps on your computer. Open the link below in your browser:
Sign in with the relevant Apple ID (the one you want to shut down) and the associated password.
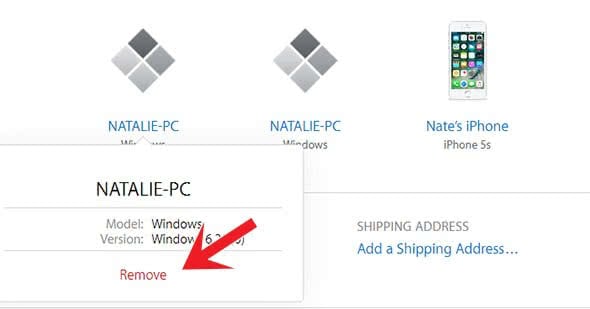
Scroll to the “Devices” area. There you will see all devices that are connected to your Apple ID, similar to your iPhone (see above). Click the device that you want to remove from the Apple ID. Then choose Remove in the pop-up window. You will be asked once again if you are sure about removing the device. When you hit Remove, this device will be deleted from your Apple ID account.