How To Enable & Disable Google Timeline On iPhone
![]() Do you want to keep track where you have been on your vacation or daily life? Then the timeline feature in Google Maps is the right tool for you. Once you did the respective changes in the app, the maps service will record in the background, where and how long you stay at a location. In this trick, we will show you how to enable and disable the feature.
Do you want to keep track where you have been on your vacation or daily life? Then the timeline feature in Google Maps is the right tool for you. Once you did the respective changes in the app, the maps service will record in the background, where and how long you stay at a location. In this trick, we will show you how to enable and disable the feature.
How to turn on Google timeline
In order to create a timeline, you have to enable the location service and location history. Then Google will automatically create a timeline according to your location, search inquiries and visited websites. You can also add certain places manually.
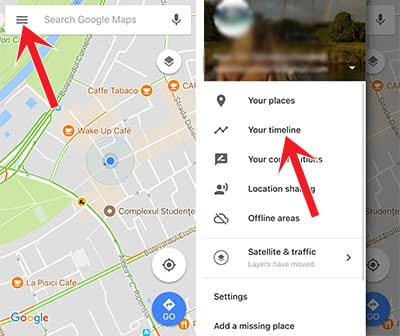
In the Google Maps app, tap the Menu icon at the top left. Then choose Your timeline.

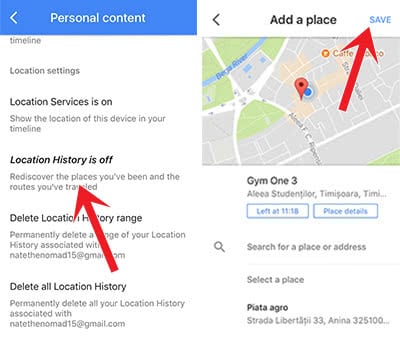
If your Location History is disabled, you have to enable it in the “Settings” first. Go to “Personal content” and tap on “Location History is off”. This way you can of course disable the function again.
After that enter a place that you want to add to your timeline, for instance, your work address or gym. Hit Save at the top right to add the location to your history.

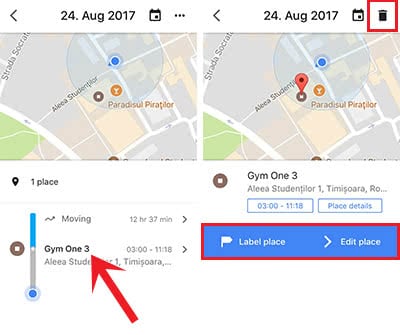
The place will now appear in your timeline. Tap it to edit the entry, label or delete it.

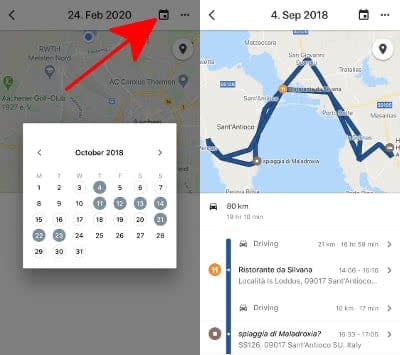
In order to see when you visited which places, just go back to “Your timeline” in the menu bar of the Google Maps app and click on the calendar icon in the upper right corner. Then select any date and you’ll be shown all the places you’ve visited.

How to turn off Google Maps timeline
You can disable the timeline feature by setting the location access for Google Maps to “While Using the App” in Settings → Google Maps → Location on your iPhone. Then the maps app will only access your location when you open the app.
In order to disable it completely you open the Google Maps app on your iPhone and go to Settings → Personal content and tap “Location History is on”.
Do you want to get the most out of the Maps app? Then recommend reading our article: 10 Features Of The iPhone Maps App That You Should Know.