How to Share Photos on Your iPhone & iPad
 Remember when we used to have to put photo albums on a USB stick, or even print them out to share them with our family? Begone are the dark times of cloudless sharing, nowadays you can accomplish the same task without additional hardware, paper and only need a few taps. Here’s a guide on how to share photos on iPhone using iCloud.
Prerequisites: You will need a free iCloud account to follow along with this guide. If you plan to use photo sharing on your Mac or PC, you will require Mac OS X Mavericks (1o.9) or later. In the case of a PC, you will need Windows 7 and newer and iCloud for windows installed on your machine. When installing iTunes, the setup assistant will ask you if you’d like to install the iCloud utilities as well.
How to enable iCloud photo sharing on iPhone
Open up the Settings app on your iPhone and tap iCloud, then select Photos. Scroll down until you see the iCloud Photo Library and keep scrolling. Right at the bottom of this settings screen you’ll find a toggle labeled iCloud Photo Sharing. Switch it on to enable the ability to share albums and subscribe to shared photo albums created by your friends, family and colleagues.
How to share a photo album using iCloud
Once the iCloud Photo Sharing feature is enabled, you can go ahead and create your first shared album.
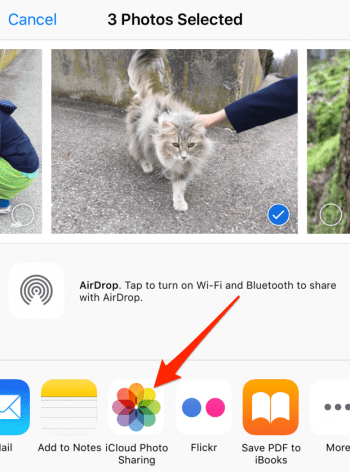
Launch the Photos app from your Home Screen. Then tap Select in the top right of the interface to enter selection mode. Tap the images you’d like to add to the shared album, then tap the Share button in the bottom left corner. In the sharing sheet, look for iCloud Photo Sharing in the top row of buttons.
The next step allows you to configure the details of your new shared album. You can add a comment to describe the contents of the album. Tap Shared Album at the bottom to select the destination for the images. You can either create a new shared album or add them to an existing shared album. If you opt for a New Shared Album, adding the title will be the next step. Tap Next.
Last but not least, you can add the recipients of this shared album by either typing their names or adding them via the plus sign button. Then tap Next again.
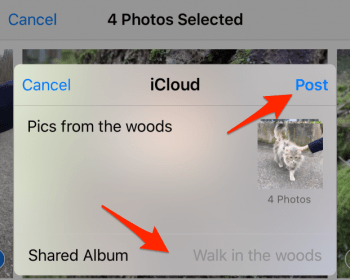
Finally, we can tap Post. Your images are now shared with the selected contacts until you change the settings.
Tip: Did you know that you can share complete iCloud folders with others?
Adding more photos to a share
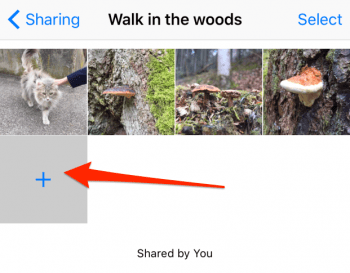
If you want to add further images to the album, this is entirely possible without having to reinvite the recipients! Think of the shared album as a living document. Go to your Photos app and tap the Shared tab in the bottom of the screen. Then select the shared album from the list. Now tap the + Button and you can select additional images to add.
Inviting more people to view your shared photos
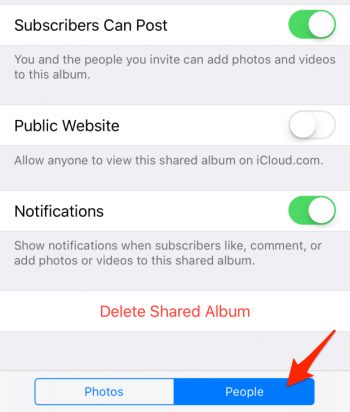
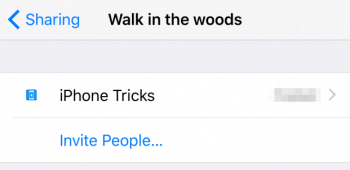
You may have noticed a second tab in the last screen. It is labeled People and governs a range of settings, amongst them is the option to invite additional contacts to view the album or post to it by tapping Invite People… right at the top, which will be at the end of the list of contacts currently authorized to view this album.
Additional options
Further details can be customized when sharing images via iCloud Photo Sharing. By switching the toggles that are available on the People tab of your shared album, we can customize whether viewers are allowed to post photos and videos to the album.
There is also the option of making the album publicly available on iCloud.com so that even uninvited users can check out your content using just their browser. Additionally, you can switch on or off the Notifications for likes, comments and content addition by your subscribers. Last but not least, you can Delete Shared Album to get rid of it, which will also affect everyone’s access to the photos and videos.
