How To Clean iPhone Speakers – 8 Tips You Must Know!
 Dirty iPhone speakers are a horror not only visually. They also reduce the sound quality when making calls or listening to music on the iPhone. But because we carry our iPhone with us every day in our pants pockets, backpacks or other carry bags, dirt is bound to get into the small speaker slots. With our 8 cleaning tips you will get rid of the dirt in the slots and in the speaker grille in no time!
Contents
Over time, all kinds of dust, lint and dirt will settle in both the ear speaker and the audio speakers. In addition to the small cut-outs, the dirt also settles on the speaker grilles, which, due to their special structure, favour soiling.
However, getting the “problem areas” clean again is easier than you might think. All you need are some suitable cleaning tools, which either you already have at home or which you can quickly get from your trusted (mail-order) dealer. In the following, we will introduce you to the best ways to clean your iPhone speakers from dirt.
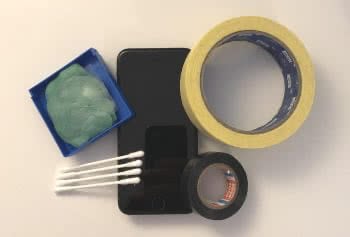
Type cleaner, tape & Co – The right cleaning tool for your iPhone speakers.
Cleaning iPhone speakers – Consider this before you get started
Before you get down to business, there are a few important things you should consider:
- Do not use water for cleaning.
- Do not use any cleaning agents or compressed air.
- Do not use any sharp objects.
The “don’ts” of speaker cleaning listed here (which, by the way, Apple also addressed in a separate support document) can, in the worst case, lead to hardware damage, for which no one else but you is liable!
Before you clean the speaker slots, you should also disconnect all cables connected to the iPhone and turn off the device completely. This will help prevent misentries when cleaning.
The best cleaning tips for iPhone speakers
1. Type cleaner: Originally intended for cleaning the print types of mechanical typewriters, the modeling clay is ideal for cleaning the speakers or slots on the iPhone.
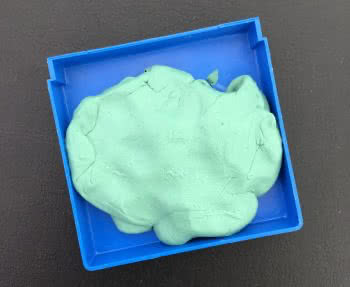
Simply tear off a small piece of the block, knead the mass until it is completely soft and then press it against the speaker hole. If you now pull off the putty, the dirt will simply stick to it. To remove any residue of the mass in the recess, press it back into the opening and pull it off until everything is clean. After 5 to 6 applications, however, you should throw the piece of type cleaner away.
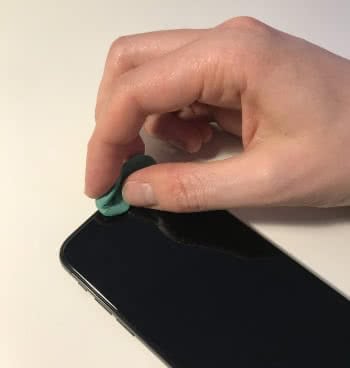
Cleaning iPhone ear speaker with type cleaner.
2. Adhesive tape: Similar to the type cleaner, dust, lint and other contaminants also stick to the adhesive tape. You can use masking tape, for example, which is normally used when painting walls. Simply press a piece of tape onto the speaker holehil and pull it off again. A large part of the dirt should now stick to the tape. Depending on how dirty it is, you can repeat this process a few times (with a fresh strip of tape).
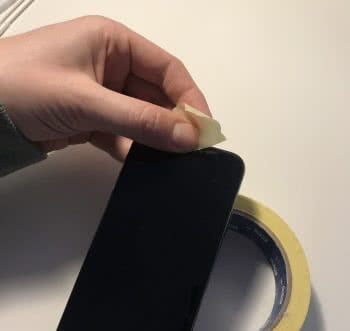
Cleaning iPhone speaker with adhesive tape.
3. Blow: Sounds trivial but removes coarse dirt on the quick. Proceed carefully and make sure that no liquid gets into the speaker holes when blowing. Moisture makes cleaning more difficult.
4. Vacuum cleaner: Care should be taken with this method to avoid damaging the iPhone. However, with the necessary care, you can get some dirt out of the speaker at the lowest setting of your vacuum cleaner.
5. Spectacles cloth: You can remove stubborn dirt from the speaker grille even with an ordinary (and dry!) spectacle cleaning cloth.
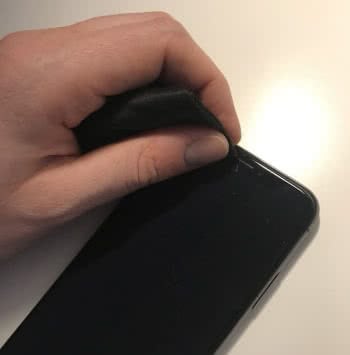
Cleaning iPhone speaker with spectacle cloth.
6. Brush: You can get rid of finer dirt with a brush. Simply brush the speaker hole carefully.
7. Toothbrush: If you do not have a brush at hand, you can use a dry, soft toothbrush. Again, brush gently and do not press too hard.
8. Cotton swabs: As an alternative to a brush and toothbrush, you can also use a standard cotton swab to clean the speakers of dirt.
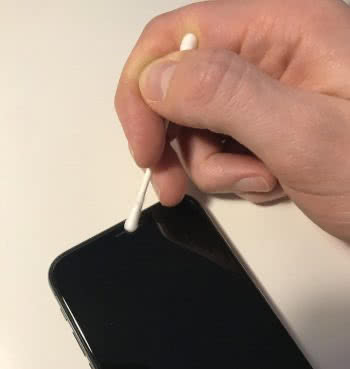
Cleaning iPhone speaker with cotton swab.
If you follow the tips listed here, your iPhone speakers should be back to a handsome appearance and crystal clear sound in no time. If the sound quality still leaves something to be desired after cleaning, or if you can’t hear anything at all through the speakers, check out our 8 solutions for iPhone sound problems.
Cleaning the speaker from the inside? Not a good idea!
If nothing helps and you’re thinking of opening the iPhone with a special tool to clean the inside, we can only say: Let it go! Once you open the iPhone by yourself, any warranty claim will be void. In the worst case, you risk irreparable damage to the device. In this case we recommend to contact a specialist who will examine the problem.