How to Send In Your iPhone for Repairs
 The Apple iPhone is one of the sturdiest mobile devices and rarely requires repairs or maintenance, aside from the battery which you will unavoidably wear out after a couple of years of intensive usage. The process of getting help from Apple is pretty straightforward and usually devoid of complications. To aid you in this process, we have compiled a guide on how to send in your iPhone for repairs, what kind of iPhone repair preparations you should take and how to get help when your iPhone is broken.
How to send in your iPhone for repairs
If your iPhone has been damaged or shows wear and tear, regardless of whether it happened due to your direct influence or by itself, you can contact Apple support to inquire as to whether the repairs can be conducted and whether they will cost anything for you. This can be done via chat or phone.
To begin, open the following website in a web browser:
Log in with your Apple ID and select the device that is in need of service by clicking or tapping it in the list. You will also be notified whether your device is still covered by warranty and if you’re still entitled to technical support.

On the next page, select Repairs & Physical Damage from the list. Or pick the corresponding icon that is fitting for your case.

You can then choose from a number of topics which describe your issue. Select the topic is not listed if you cannot find a fitting title for your iPhone’s problem.
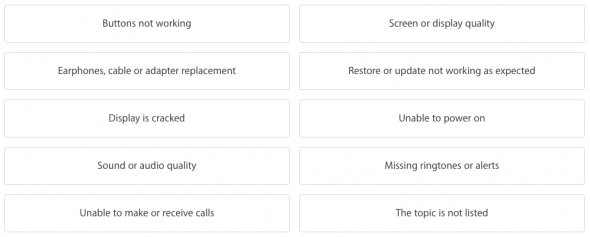
Hint: Apple does not only fix issues caused by manufacturing faults, but also accidental damage and other problems. The latter will probably have to be paid by you.
If your iPhone has suffered a fatal drop or similar accident, it can be sent in right away after completing the form. Other cases that might be covered under warranty will have to go through Apple Support first, in order to allow for troubleshooting processes and coverage checks.
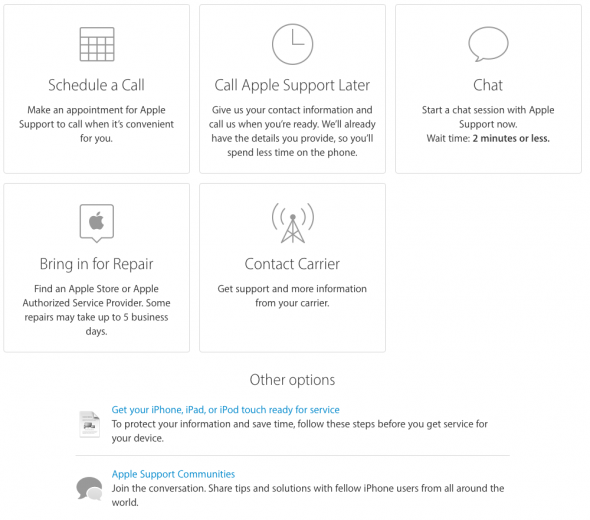
In the last step, we will be picking our preferred communication channel. Pick the option that most appeals to your personal preferences. You can schedule a call, call Apple support later and give them your contact information, chat directly with an Apple Support agent or make an appointment for in-store repairs. In some regions, you may also be able to contact your carrier for support or make an appointment for Apple to call you back.
Preparing your iPhone for repairs
After contacting Apple Support with your issue, it is time to prepare the iPhone for sending it in. Preparing an iPhone for repairs is discussed in the following hints and steps.
Make sure you have a backup phone
First of all, Apple is not supplying customers with temporary devices anymore. This means that you will have to make sure that you own a backup phone for the brief time period that the repair will take, or you won’t be available for calls. A standard repair takes around 5 to 8 working days, but this can vary according to your region and service availability.
Preparing your iPhone for repairs at the Apple Store
- Make sure to create a Backup of your data on your Mac/PC or via iCloud.
- Keep the Apple ID password handy in case you need it to reset your iPhone to factory settings. When using Find my iPhone, this is especially important.
- Make sure to bring your receipt or proof of purchase to the Apple Store.
Preparing your iPhone for shipping it to a service center
- >Make sure to create a Backup of your data on your Mac/PC or via iCloud.
- Go to Settings > Messages and disable iMessage so that contacts won’t send you messages while you are unavailable
- If possible, reset your iPhone to factory settings. While in repair, your iPhone will probably be wiped anyway. So go to Settings > General > Reset and select to Erase All Content and Settings. Again: Be sure to have a backup at this point.
- Make sure to deactivate the activation lock.
- Remove the SIM card using a paper clip or the SIM card tool.
- If you use one, remove the case and display protector.
- Do not send in any accessories such as your charger and cable.