How To Use The iPhone Recovery Mode
![]() Is your iPhone not working how it supposed to? Although iPhones are very reliable smartphones, it sometimes happens that suddenly nothing works anymore. This is why there is a so-called recovery mode you can use to fix all kinds of iPhone problems very quickly. And here’s how it works!
Is your iPhone not working how it supposed to? Although iPhones are very reliable smartphones, it sometimes happens that suddenly nothing works anymore. This is why there is a so-called recovery mode you can use to fix all kinds of iPhone problems very quickly. And here’s how it works!
Contents
Reasons for using iPhone recovery mode
The recovery mode comes into play when, for whatever reason, recovery via iTunes stops working, when your iPhone screen shows only the Apple logo, or when the recovery mode screen is displayed. It can also be useful if your iPhone is locked by entering a wrong passcode too often or if you forgot your code.
However, the recovery mode should not be the first choice if your iPhone is causing problems. First you should try to reset your iPhone. If some apps are causing problems, you can use a trick to force the app(s) to restart. If all of this doesn’t work, you can reset your iPhone using the recovery mode.
Depending on which iPhone model you are using, the activation of the recovery mode will vary slightly. Below we will show you how to activate it depending on your iPhone model. Recovery mode is not to be confused with the DFU Mode, which allows an even deeper system intervention in case of serious errors or problems.
Enable recovery mode on iPhone 11 (Pro) (Max), iPhone X, iPhone Xs (Max), iPhone XR, iPhone 8 (Plus) and iPhone SE 2
- Open iTunes (in the latest version, update it if necessary!) and connect your iPhone to your computer via Lightning to USB cable. Depending on the macOS version you have installed on your Mac, you may need to open the Finder instead of iTunes.
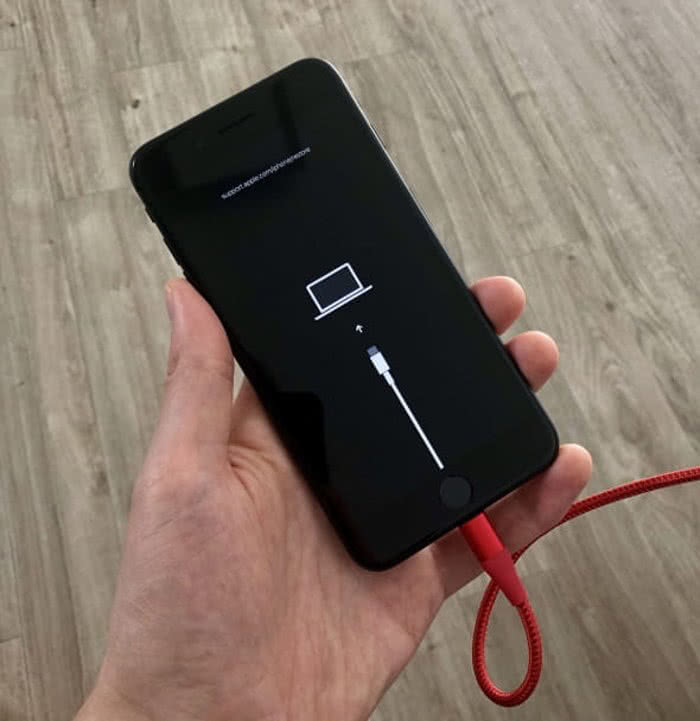
- To put your iPhone into recovery mode, press and release the Volume up button (left), press and release the Volume down button (left), and then press the right side button on your iPhone and hold it until the recovery mode screen (showing a cable and a computer) appears. Don’t be distracted by the flashing Apple logo.

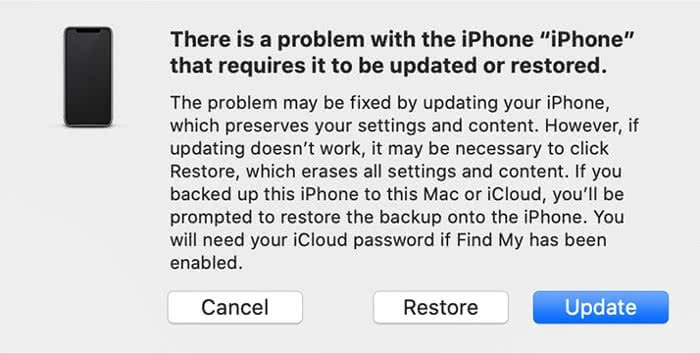
Your iPhone is now in recovery mode. You can update your iPhone by clicking “Update” on your computer (your iPhone data will be preserved) or reset it to it’s factory settings by clicking “Restore” (all settings and content will be deleted).
Enable recovery mode on iPhone 7 (Plus)
- Open iTunes (in the latest version, update it if necessary!) and connect your iPhone to your computer via Lightning to USB cable. Depending on the macOS version you have installed on your Mac, you may need to open the Finder instead of iTunes.
- To put your iPhone into recovery mode, press and hold the Volume down button on the left side of the iPhone and the right side button simultaneously until the recovery mode screen (showing a cable and a computer) appears. Don’t be distracted by the flashing Apple logo.
Your iPhone is now in recovery mode. If the screen remains black, you have probably slipped into DFU mode.
iTunes will inform you that a device has been detected recovery mode. You can update your iPhone by clicking “Update” on your computer (your iPhone data will be preserved) or reset it to it’s factory settings by clicking “Restore” (all settings and content will be deleted).

Enable recovery mode on on iPhone 6s and older
- Open iTunes (in the latest version, update it if necessary!) and connect your iPhone to your computer via Lightning to USB cable. Depending on the macOS version you have installed on your Mac, you may need to open the Finder instead of iTunes.
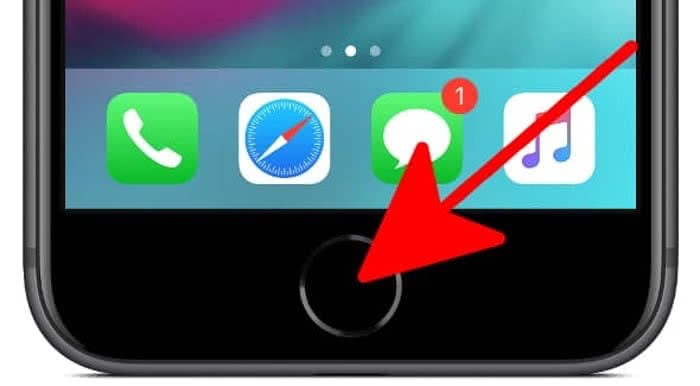
- To put your iPhone into recovery mode, press and hold the Power button (on the right side or top right, depending on the model) and the Home button simultaneously until the recovery mode screen (showing a cable and a computer) appears. Do not be irritated by the flashing Apple logo.

Exit iPhone recovery mode
If you accidentally put your iPhone into recovery mode, there are two ways to leave it:
- Reboot your iPhone to get out of recovery mode. Simply hold down the Power button for a longer period of time.
- Wait 15 minutes. The recovery mode will automatically end after this time.