How to Create An Apple ID Directly on iPhone
 Creating an Apple ID is required to access pretty much every Apple service, such as the App Store, iTunes, iCloud, iMessage and Apple Music. Without it, your iPhone or iPad doesn’t offer quite as many benefits compared to the competition, aside from the great product quality of course. Here’s a tutorial on how to create an Apple ID directly on your iPhone without the aid of an additional desktop or laptop computer.
Create an Apple ID
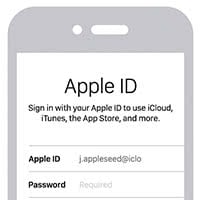
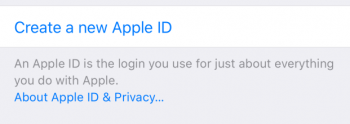
Settings → iCloudOpen up the “Settings” app on your iPhone and scroll down until you see “iCloud”. There is the option of logging in with existing credentials, as well as making a new Apple ID by tapping “Create a new Apple ID” at the bottom.

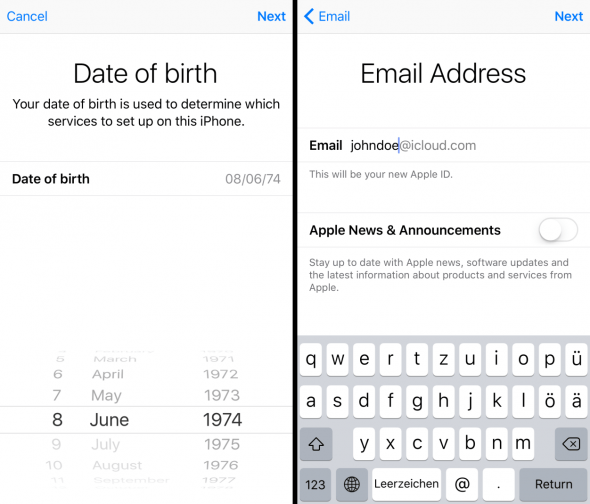
Next, enter your birth date by scrolling the date wheel accordingly, then tap “Next”. Complete the subsequent step by entering your name and surname.
Then you can either opt for a freshly created “@iCloud.com” email address, or use an existing address such as your gmail, if available. For the purposes of this tutorial, we will be sticking with the iCloud address. Simply enter your desired handle and toggle Apple’s newsletter on or off, depending on your preferences.

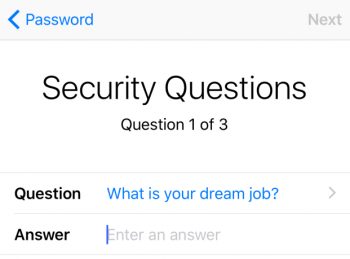
Now type in a password and confirm by entering it a second time. The password needs to fulfill certain security requirements. Then define three security questions and answers so that you may recover your password if need be.

That’s it! You are now the proud owner of a freshly created Apple ID with accompanying iCloud email account.
Delete your Apple ID
To get rid of an Apple ID, you will have to follow several steps and get in touch with Apple, as there is no automated process to remove an account. Learn how to delete your Apple ID.
Change the current Apple ID on the iPhone
You can switch between different Apple IDs on your iPhone if needed. Learn how to change your Apple ID.